Introduction
On-demand revalidation is a powerful feature that allows us to dynamically update static content in Next.js applications. This technique bridges the gap between static site generation (SSG) and server-side rendering (SSR), offering the best of both worlds.
Together, these tools enable a flexible, performant, and easy-to-manage content update system. This article will guide you through setting up on-demand revalidation, ensuring your Next.js app always serves the most up-to-date content from your Directus CMS.
For this guide, I'll be assuming you already have your Next.js setup with App router and your Directus instance running.
INFO
At the time of writing this article, I'm using:
- Next.js 14.2.14
- Directus 11.1.0
Setting up the environment
Let's start by creating an .env file at the root of your Next.js app and add REVALIDATION_SECRET key with a secret value.
TIP
You can generate a secret in mac's terminal with: openssl rand -base64 12
Setting up the re-validation API route in Next.js
Now let's create the API route that will handle our re-validation requests.
Create a new file at: app/api/revalidate_tag/route.ts, then place this script inside:
INFO
I'm doing this with revalidateTag as I find it more customizable, but you can also use revalidatePath to revalidate entire paths.
With fetch
If you're just doing vanilla fetch request you can simply do this by setting it up on the fetch's second parameter (RequestInit):
With custom fetch wrappers
In my case, I'm using Directus SDK (@directus/sdk) for requests, which means I need to wrap the request with Next's unstable_cache. I will be doing this in my blog article page at app/blog/[slug]/page.tsx.
I have a simple request to get a post from my posts collection via slug like this:
And in my page I use it like this:
So now I need to wrap the request in unstable_cache:
This is pretty much it on the Next.js side of things, let's move on with the Directus setup!
INFO
As of today, unstable_cache is an experimental feature, use with caution.
Setting up Directus Flow
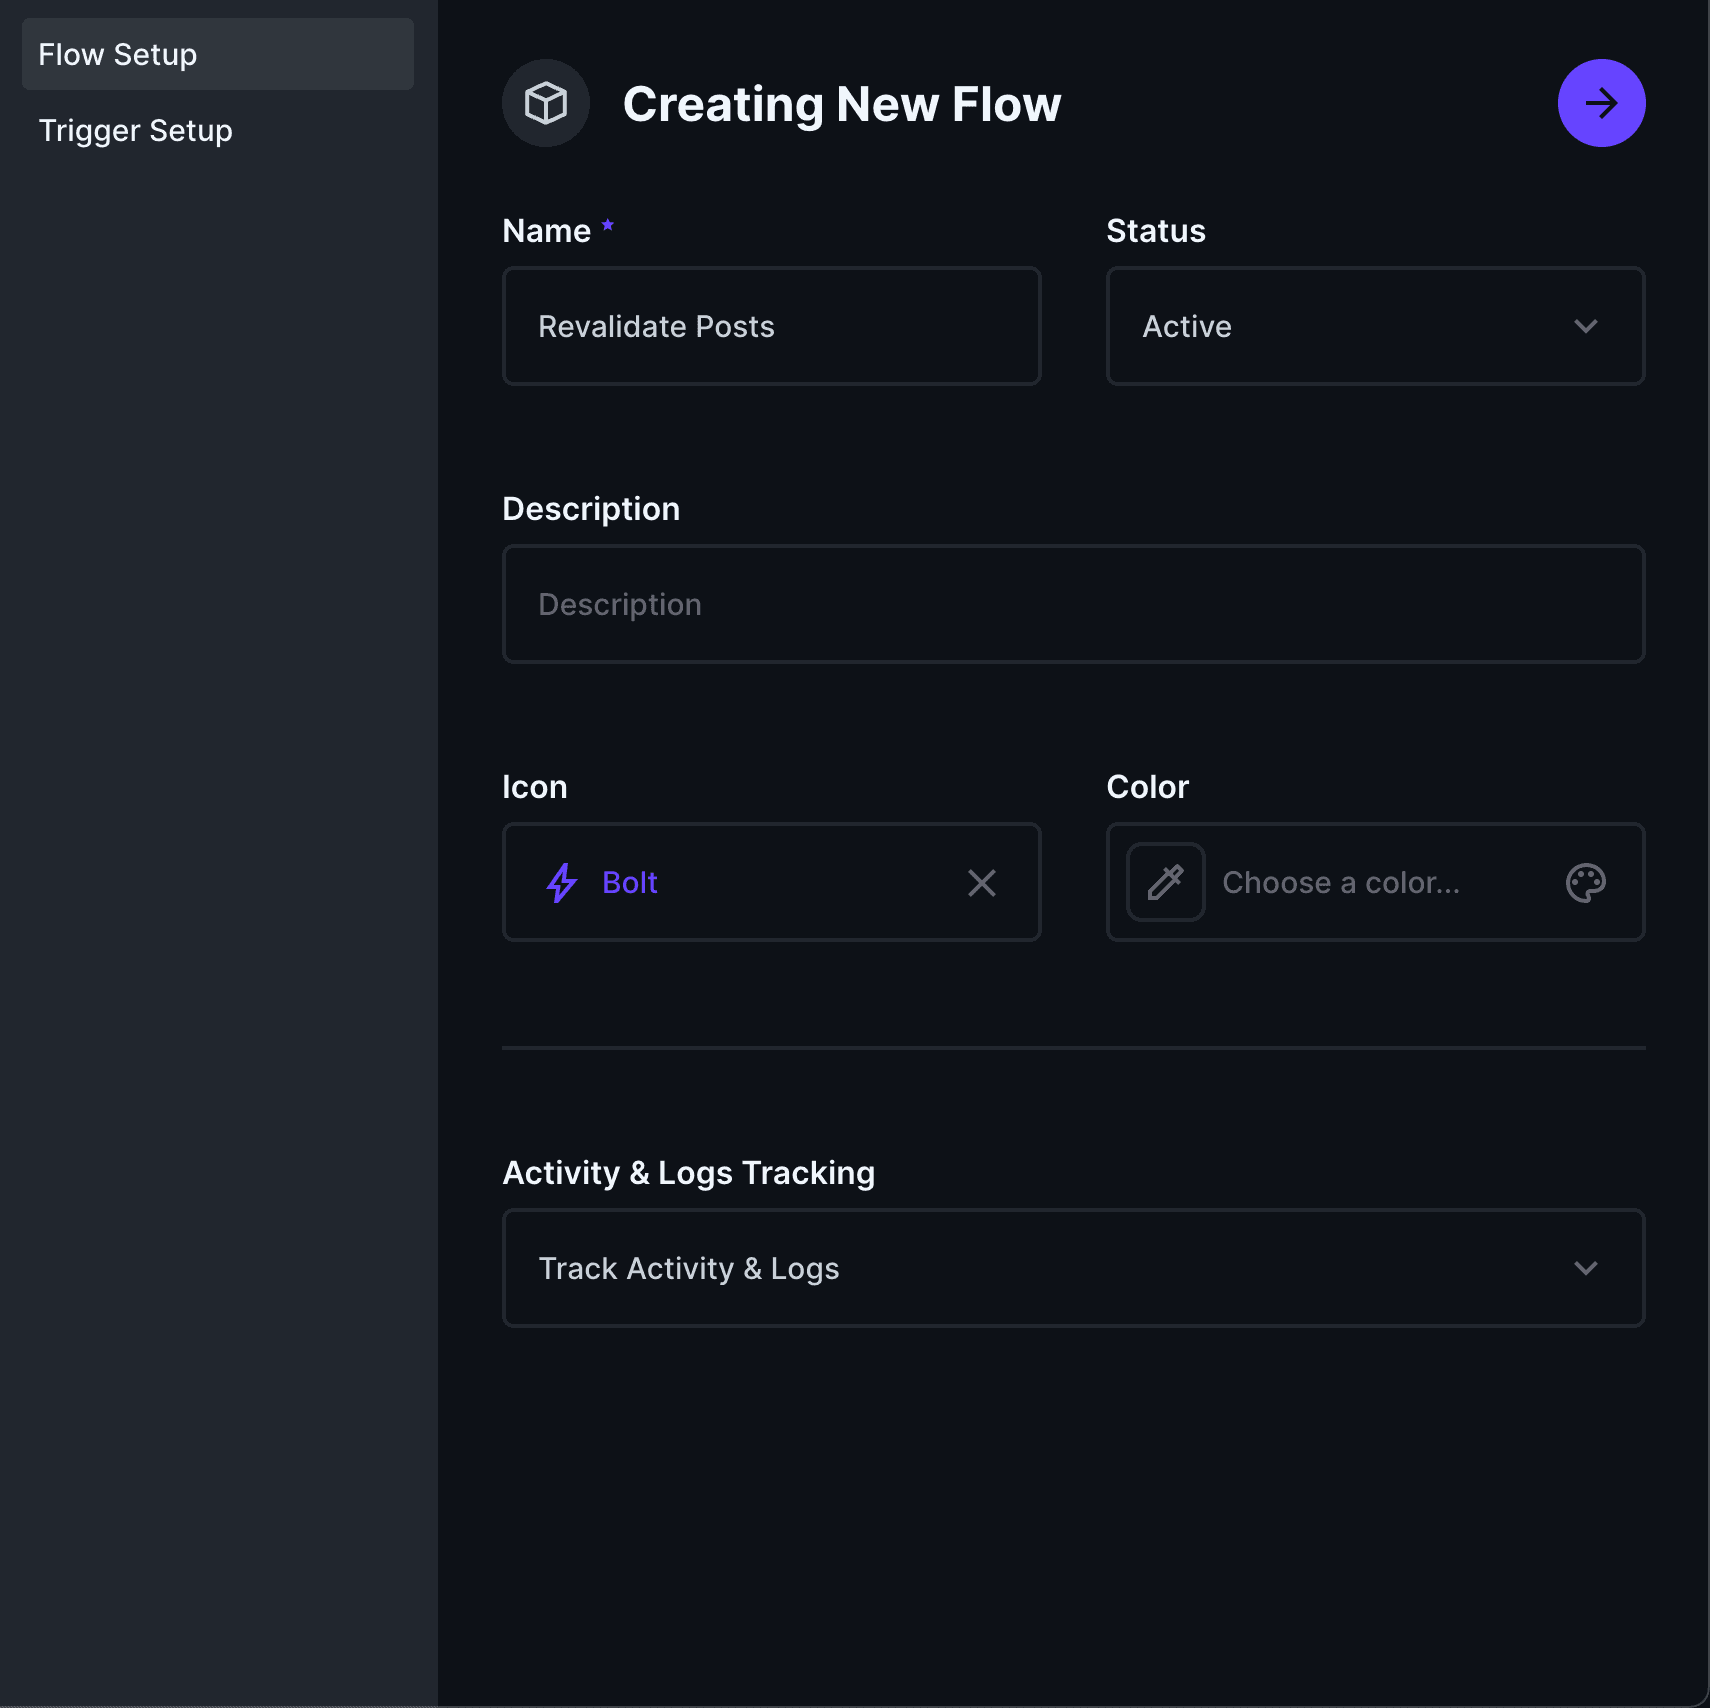
In your Directus frontend, head to Settings -> Flows -> Create Flow (top right).

In Flow Setup, choose a descriptive name for your flow. I'll be naming mine "Revalidate Posts"
Now in Trigger Setup:
- Choose Event Hook.
- Set Type to Action (non-blocking).
- In Scope, set when you want to trigger the flow. In my case I will be doing it on
items.create,items.updateanditems.delete - In Collections, select the collection/s that should be targeted. In my case this will be
Posts.
.webp&w=3840&q=75)
Now press save and we should be inside the Flow dashboard. We're now at the final step of this guide (finally).
Let's create a new operation by clicking the + symbol to the right of our newly created trigger. In the operation modal, choose a descriptive name for your operation. I will be using "Revalidation request".
- Select
Webhook / Request URL. - For Method, choose
POST - For URL, you'll want this to point to your Next.js API url, for example "/api/revalidate_tag"
- In Request Body add (remember you can change tag to whatever tag you have setup).
.webp&w=3840&q=75)
That's it! Let's now test things out to see if this is working as expected.
Testing the Setup
Since the dev server has no cache, we need to create a build and run the build server:
Now go to your Directus frontend and create/delete/update a new post (or whatever item for the collection you're targeting), refresh your Next.js page and your changes should be visible almost instantly!